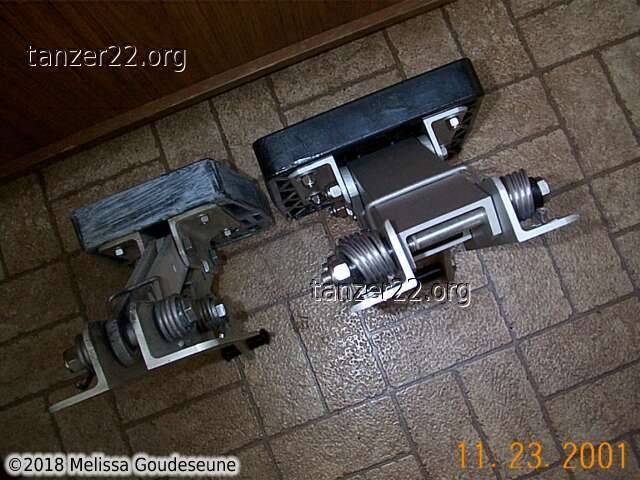
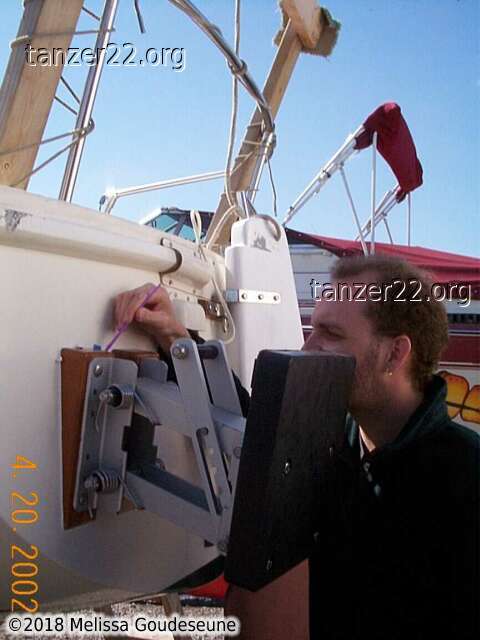
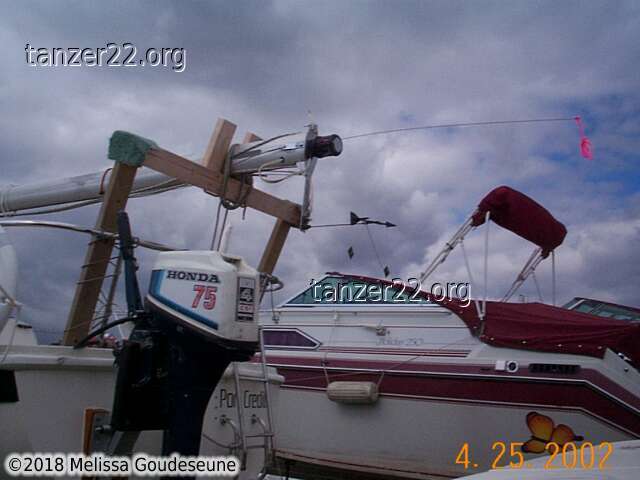
My Tanzer came with a Fulton 2-stroke motor bracket. As you can see from
these two photos, the motor pad was in less-than-stellar condition, and
was slated for replacement.
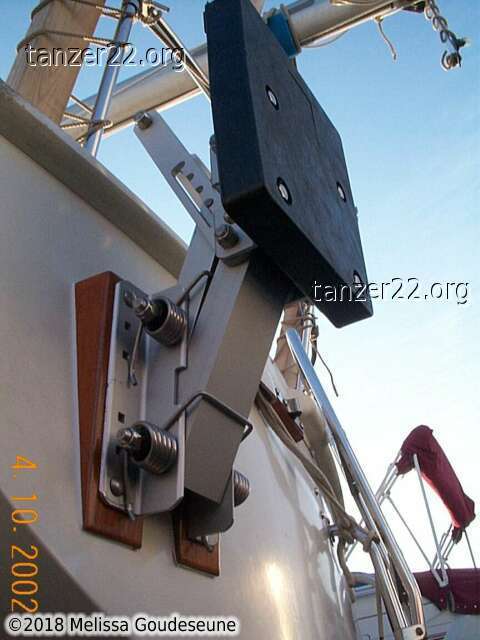
Newer 2-stroke Bracket
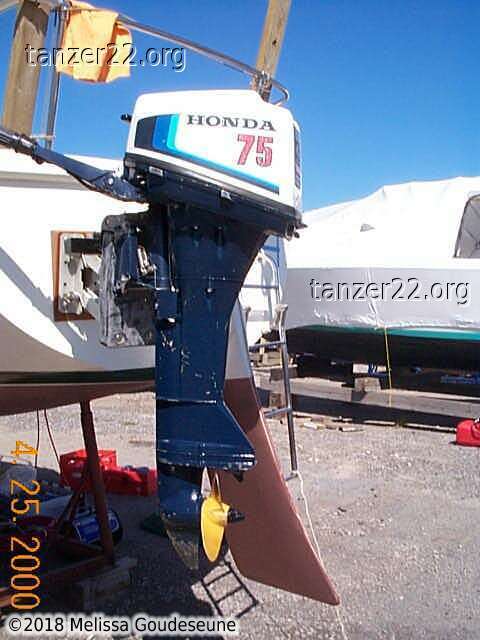
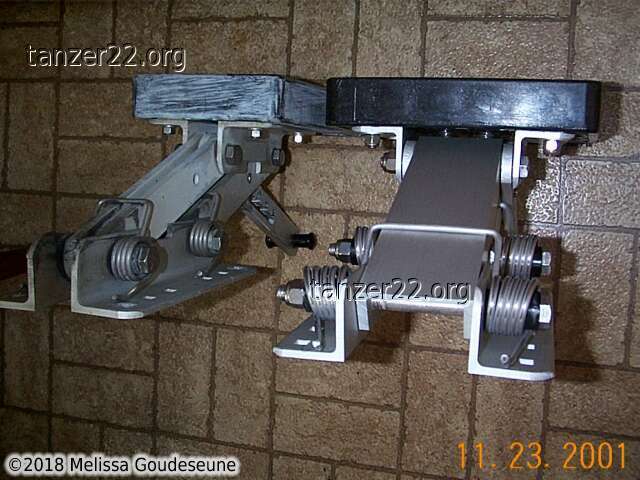
The first upgrade was a better-condition Fulton 2-stroke bracket, purchased
from John Aitken. This served well for one season, but the Honda 7.5 is
still a heavy motor. As such, raising the motor is somewhat
challenging.
You can see the teak pad which helps to adjust the angle of the motor here.
The motor is actually too vertical here. I have since adjusted it so that
the motor leans a bit farther aft, and the propellor pushes more downwards
into the water. This helps counter the tendency of the stern to "dig in"
when under power.
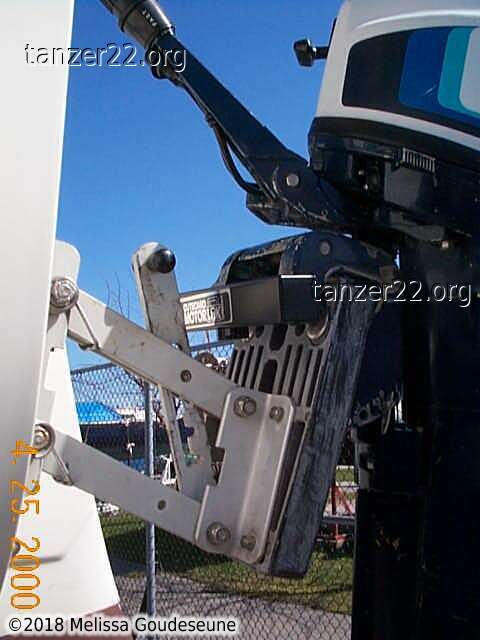
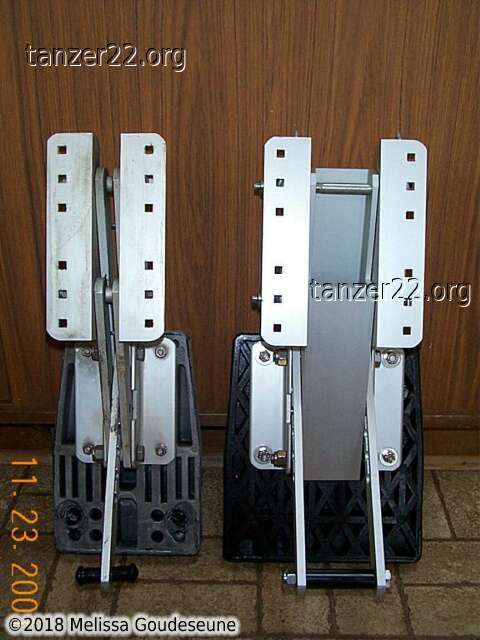
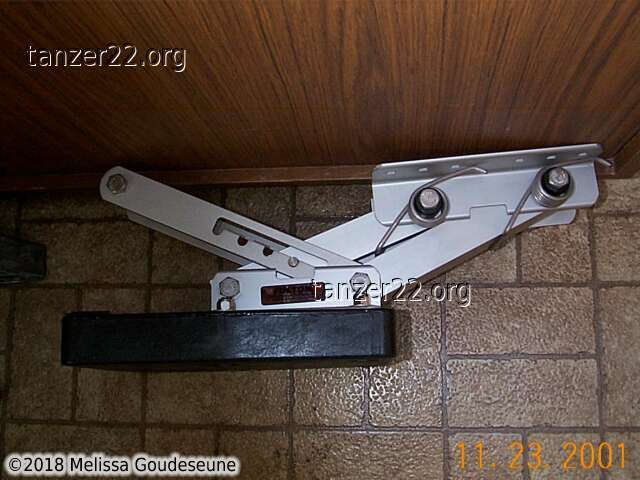
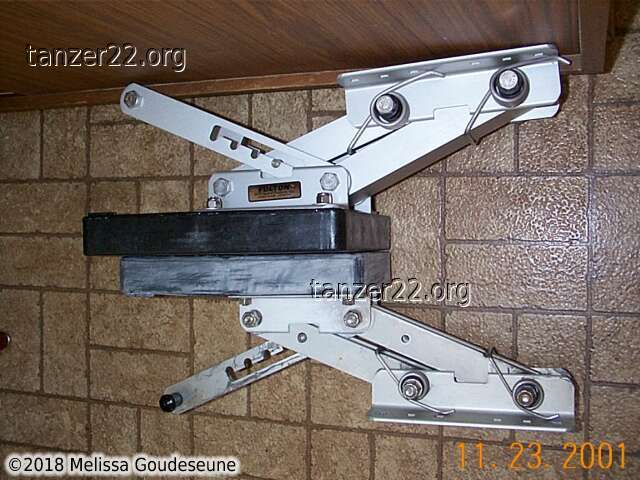
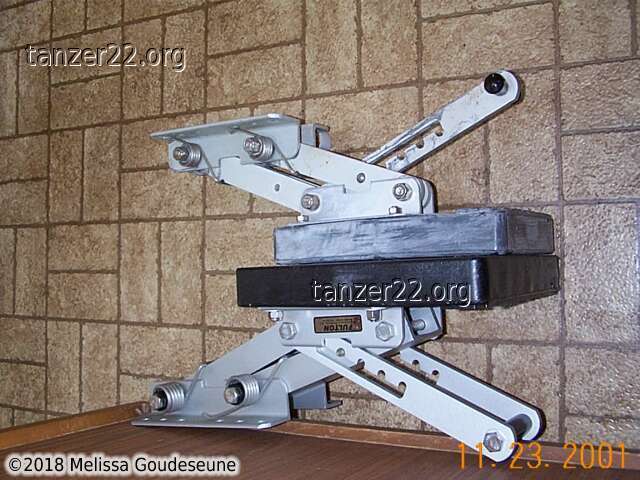
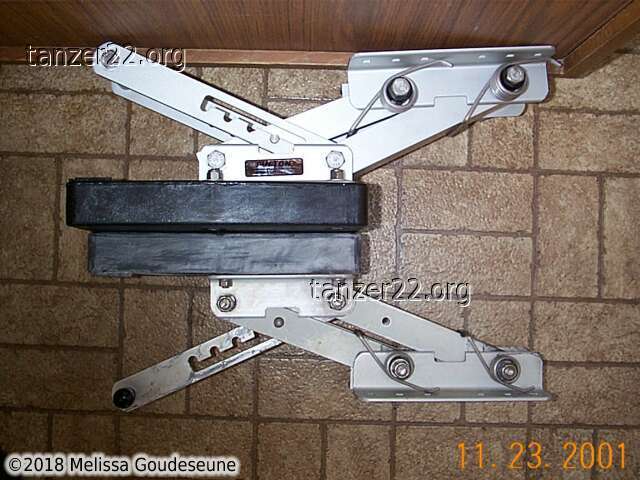
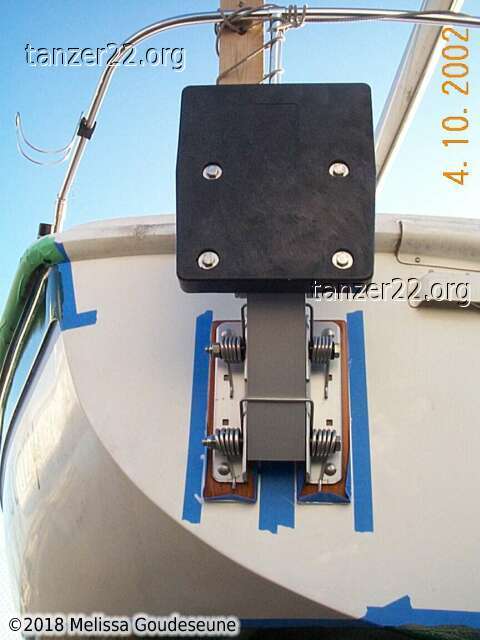
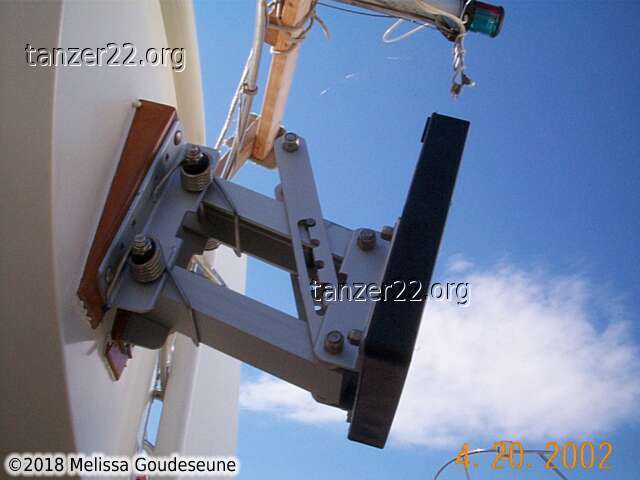
Fulton 4-stroke Bracket
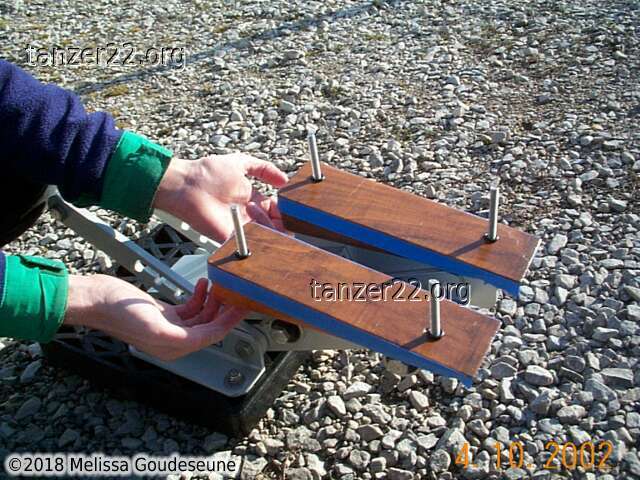
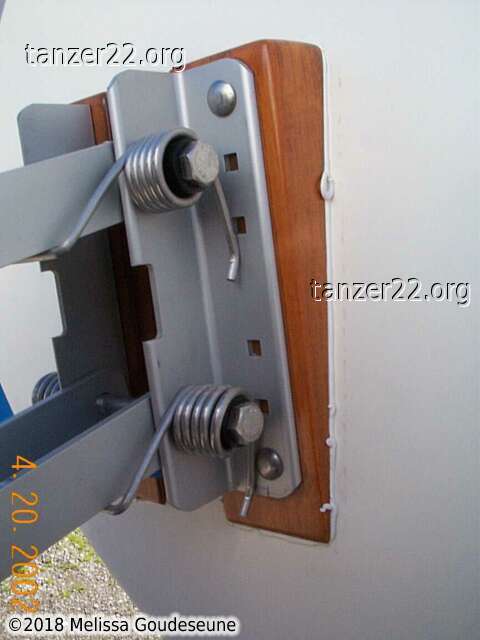
Ok, now this new bracket is downright massive compared to the old one.
This set of photos is to compare the profiles of the two brackets. The
vertical hole spacing is identical. However, the horizontal spacing is
somewhat wider. The "standard" way to adapt the teak block is to cut it
down the middle, and install half under each section of the new bracket.
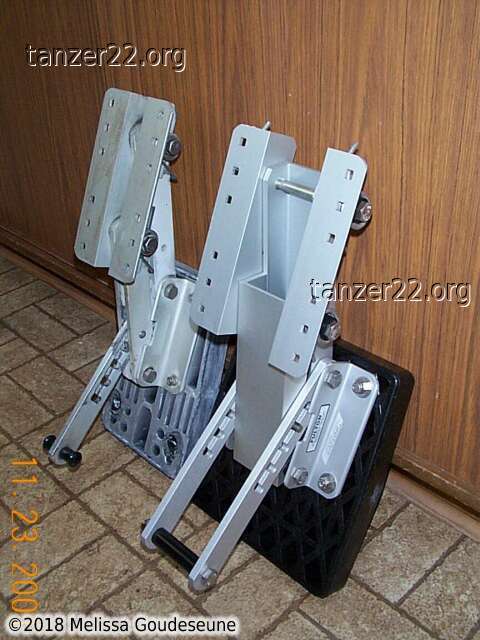
Regarding adjustment, it appears that the brackets have the same range
of travel. The new one only has four detents, so it isn't quite as
adjustable. I have been unable to budge the new bracket prior to
installation on the boat, as the return springs are very strong.
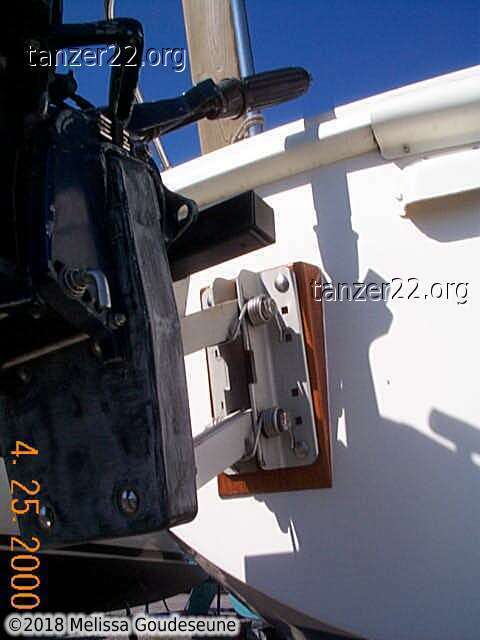
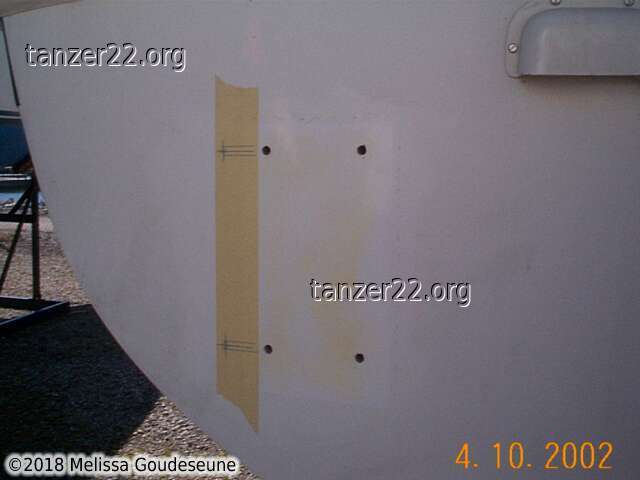
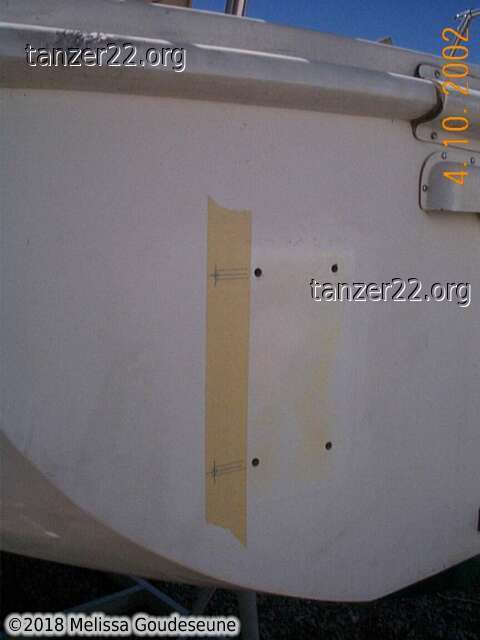
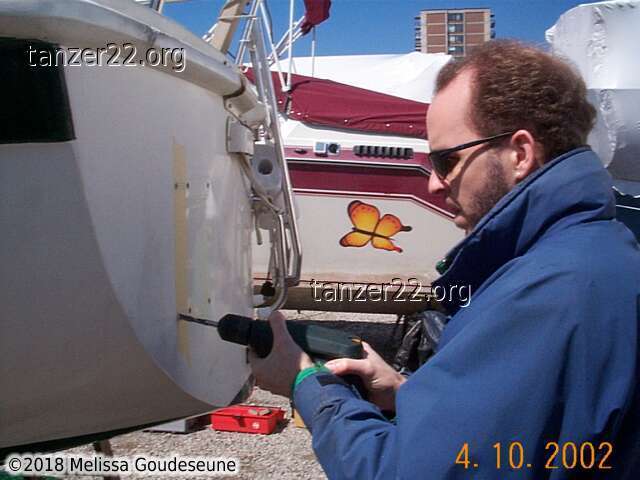
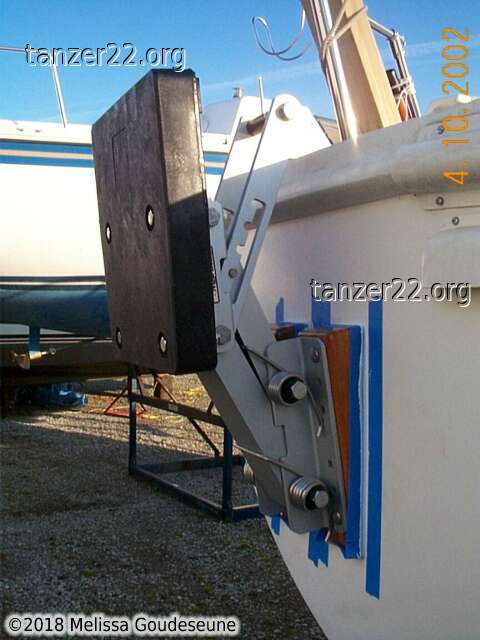
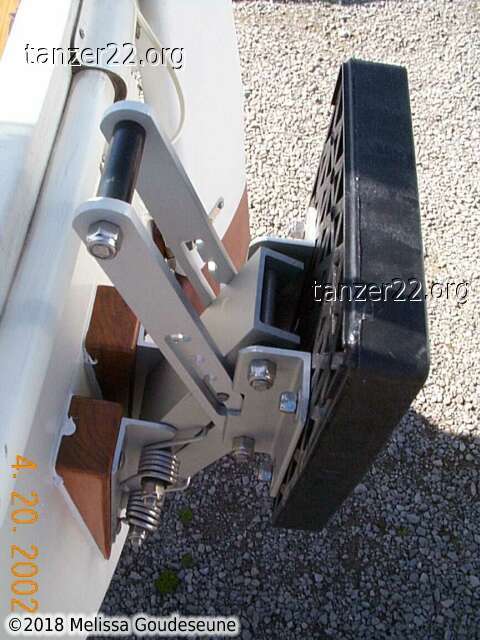
Fulton 4-stroke Bracket Installation
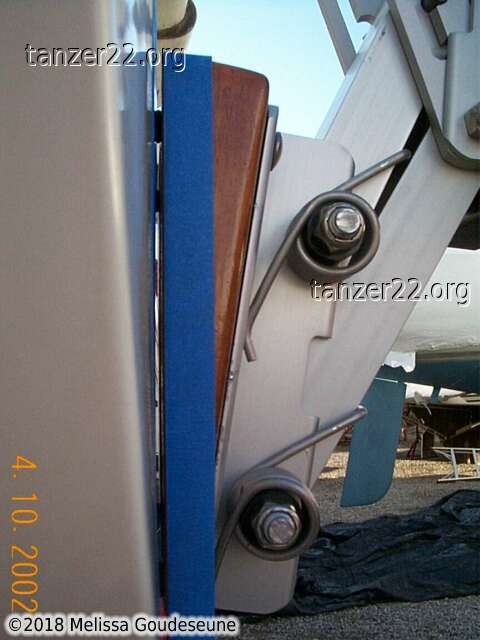
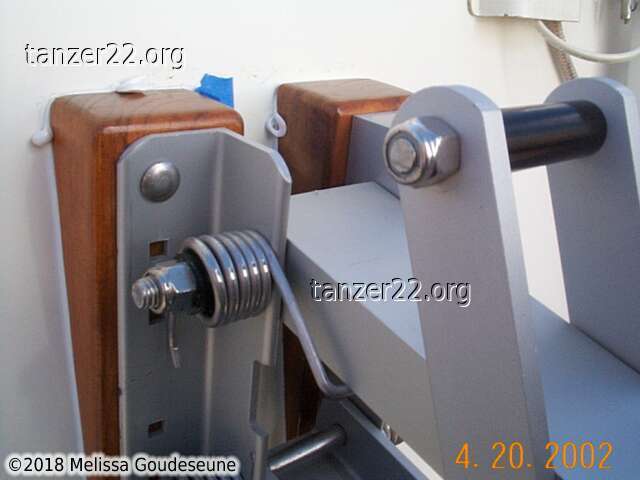
The new bracket is wider than the old Fulton bracket. Fortunately, the
vertical hole spacing is identical. Hence, I was able to reuse two of the
holes. In the third photo you can see the funny angle I have to drill at.
This is to ensure the bolts are square to the mount, not square to the
transom.
Photos 4 and 5 show the tape used to seal the old holes inside, to prevent
the epoxy from leaking inside. Due to the outside temperature, I had to
use fast-cure epoxy, as polyester resin likely wouldn't kick properly.
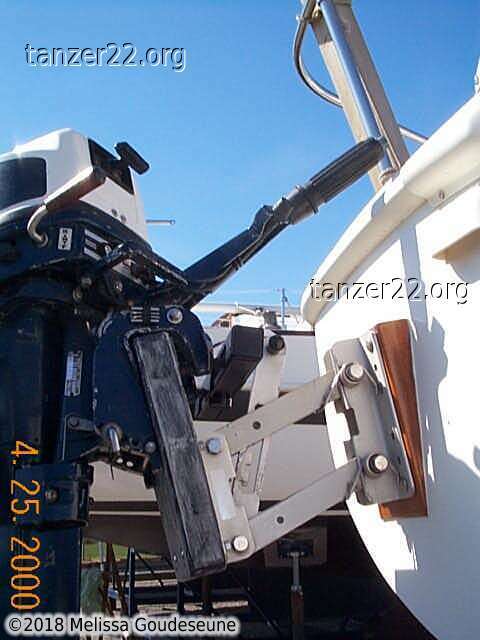
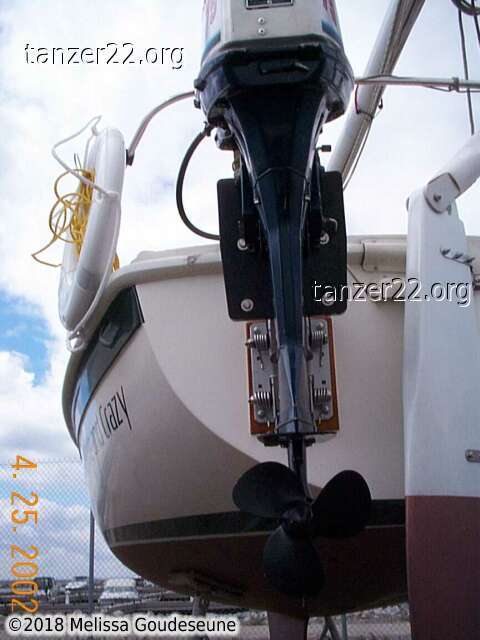
Test fitting the motor mount. Everything lines up well.
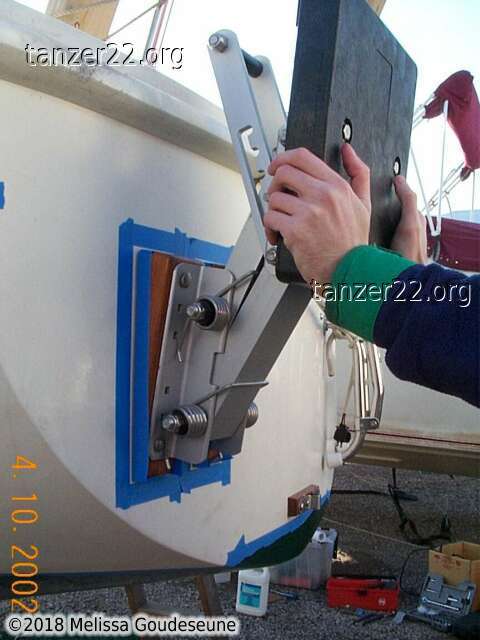
Innovative use of o-rings. The new bracket is rather heavy, so I
needed some way to maintain a thickness of sealant to create a gasket. If
I just cranked down on the nuts inside, then there would be no sealant
left, and the mount would leak.
My solution was to use 3/8" rubber o-rings (ie, plumbing o-rings from home
depot) as spacers. They're stiff enough to support the weight of the motor
while the 101 sealant cures, they won't rust, and they're not in the way
afterwards. In the second photo, you can clearly see the gap they create.
This is filled up by 101 polysulfide caulk at final installation.
Installation. The blue tape on both sides of the gap makes cleanup much
easier. After tightening the nuts inside, I run down the gap with a
popsicle stick, then peel off the tape.
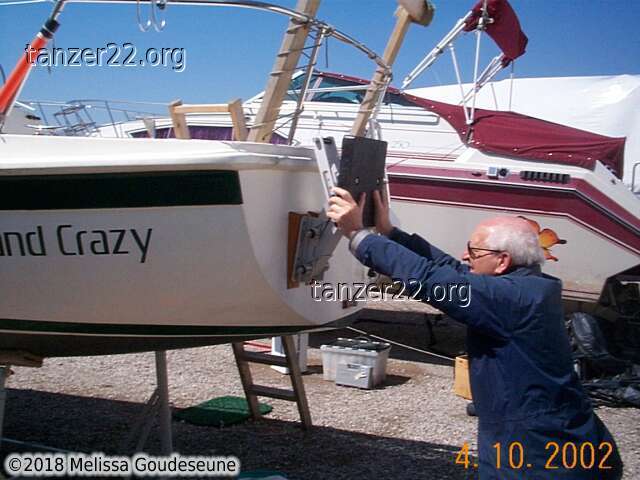
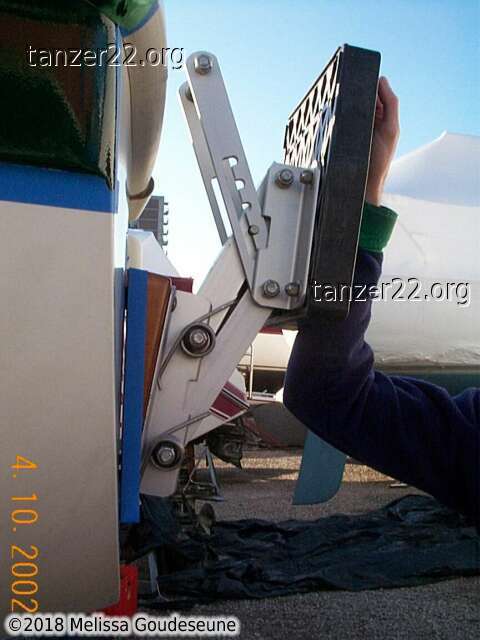
The motor mount is down! This was hilarious -- it takes two people when on
land. I was hanging on the mount with all my weight (yes, all 145 pounds
of me), and my Dad was holding the locking lever open. Even so, it
takes LOTS of effort to get it down.
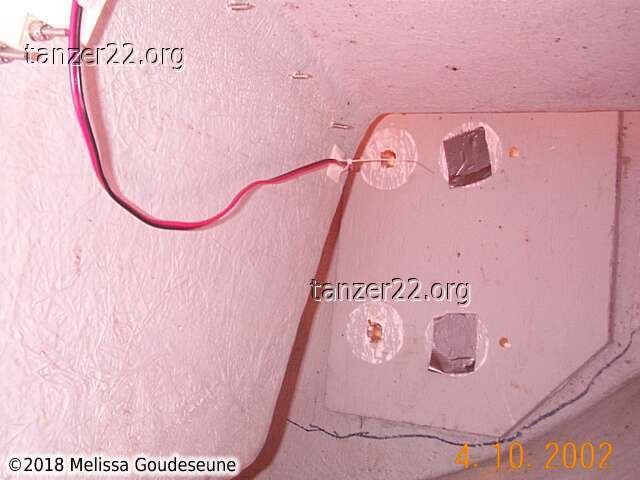
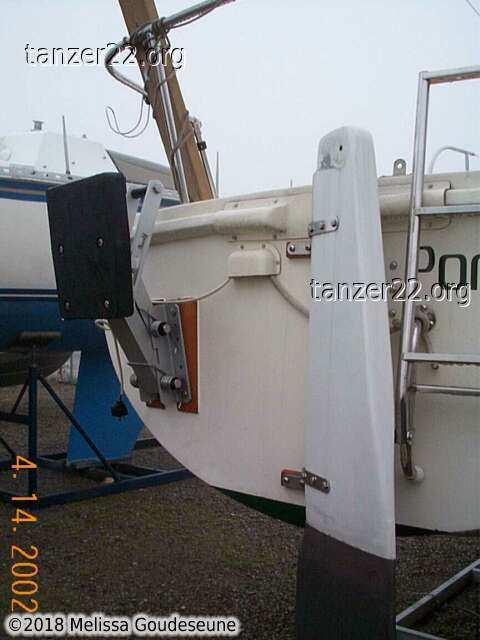
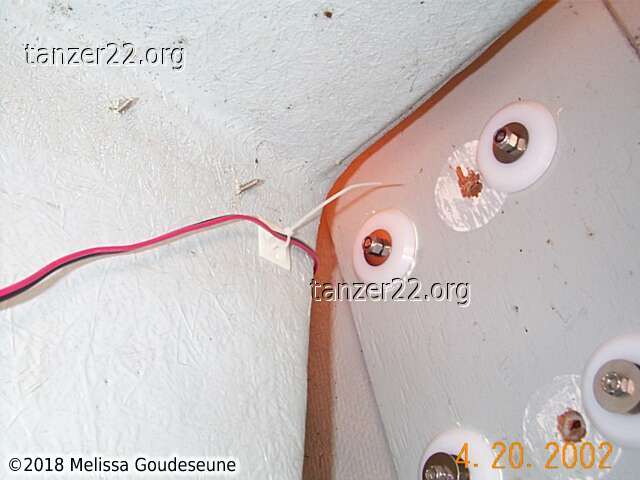
The third photo shows the new inside position of the holes. The gas tank
locker is on the left side of the photo. It's also clear from this photo
that moving the mount towards the centerline was impossible -- the plywood
backing plate simply isn't that large. I expect that moving the motor 2"
further off center won't affect peformance that much!
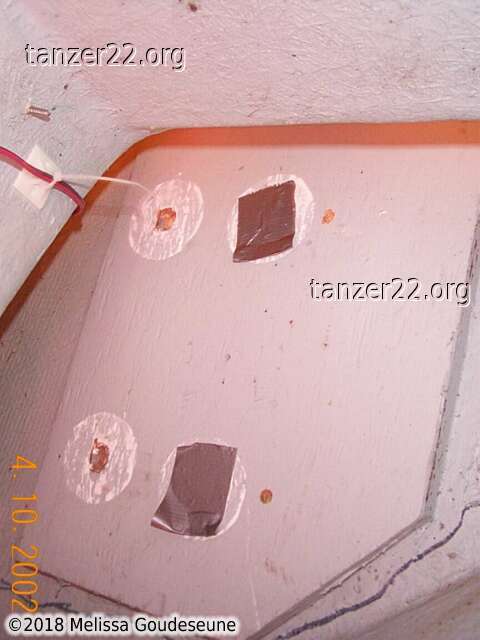
As mentioned above, I sealed the old holes with epoxy, not polyester.
Epoxy is not resistant to UV degradation. My solution was to mask
the area, and touch up with some white boot-stripe paint left over from
the rudder. The brushes I used are from Zeller's, at $1.50 for a 10-pack.
They're officially for watercolours only, but I can afford to toss a brush
after one use, if it only cost me $0.15!
You can also see the sealant oozing out in the other photos. I waited more
than a week for the 3M 101 to cure, before tightening down the nuts inside
the transom. Even so, some sealant oozed out from a couple of places. I
can rest assured that there is still plenty of sealant acting as a gasket.
The final result. One very secure motor!
© 2018 Melissa Goudeseune