POR-15
Before 2005 launch, I resolved to finally deal with the rusty keel.
Note that it took five years for this to percolate to the
top of my list of repairs. It was mostly OK, but the many layers
of paint were now starting to flake off.
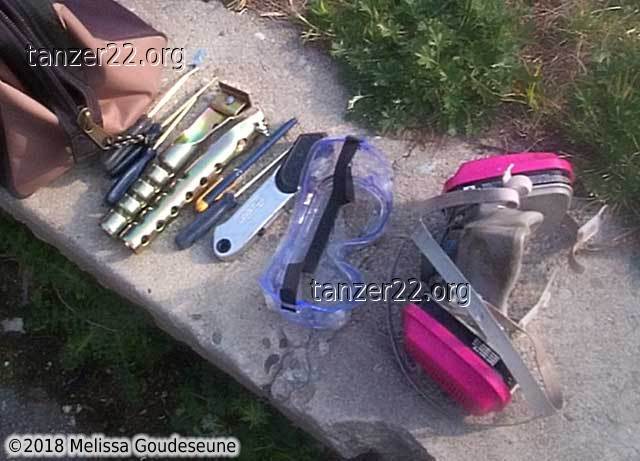
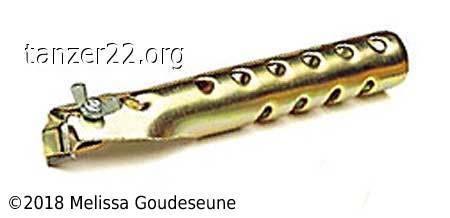
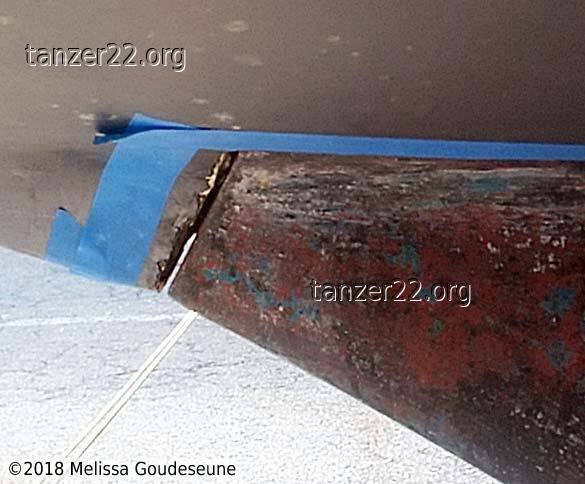
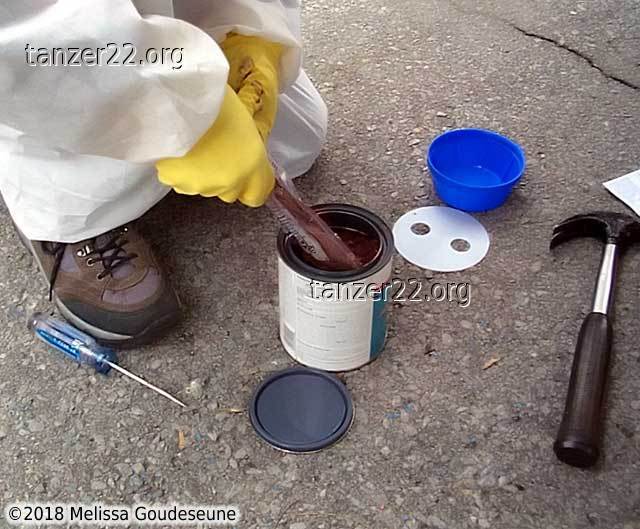
Most of the work was done with a 1/2" carbide scraper from
Lee Valley, which you can see in
both photos below. The size of the blade allowed me to apply significant
pressure to the keel to remove the old paint. Even so, it was two long
arduous days of work to get the keel clean.
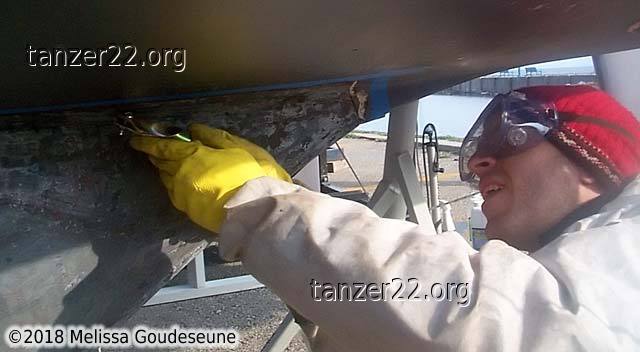
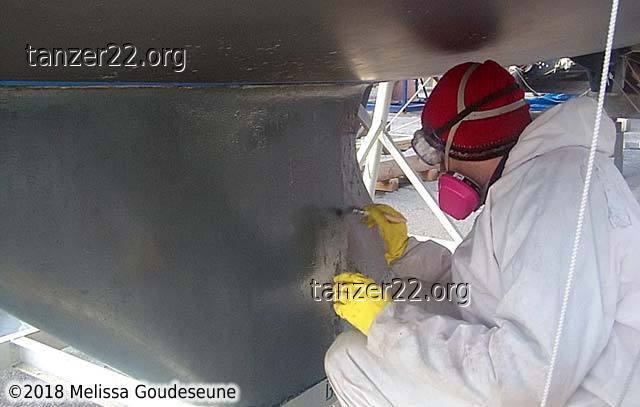
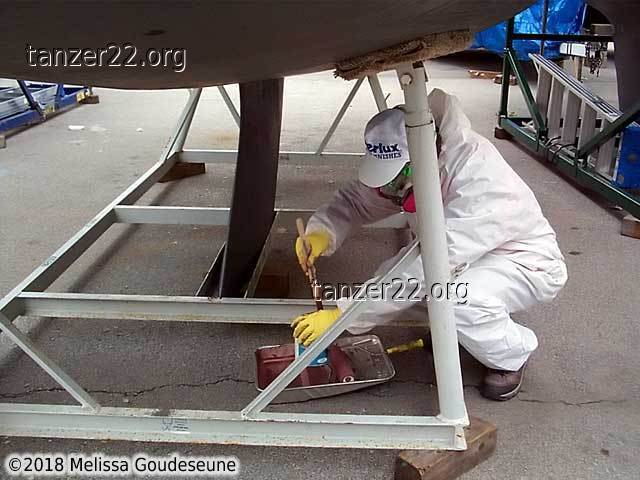
Here I'm cleaning out the last bits of the keel/hull joint. I'm not
wearing a respirator, as the keel has been scraped clean by this point.
I am still wearing safety glasses, as it's all too easy to lose
track of where you are under the boat and get something in your eye.
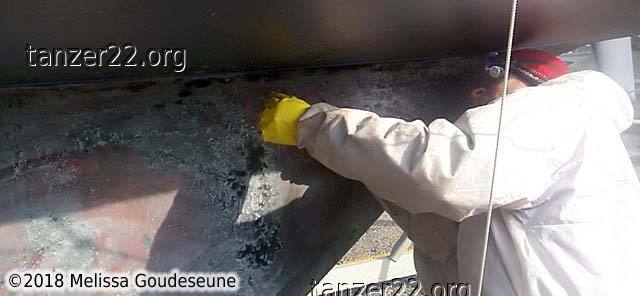
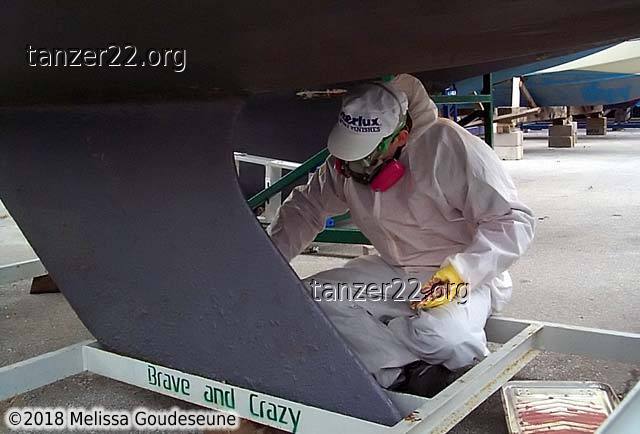
While doing the keel scraping, I was wearing full safety gear. As well,
the photographer was on orders to stay away and upwind. I didn't see
the need for a roped-off area, as the safety gear mostly scares away
bystanders, being that I look like an alien while wearing it.
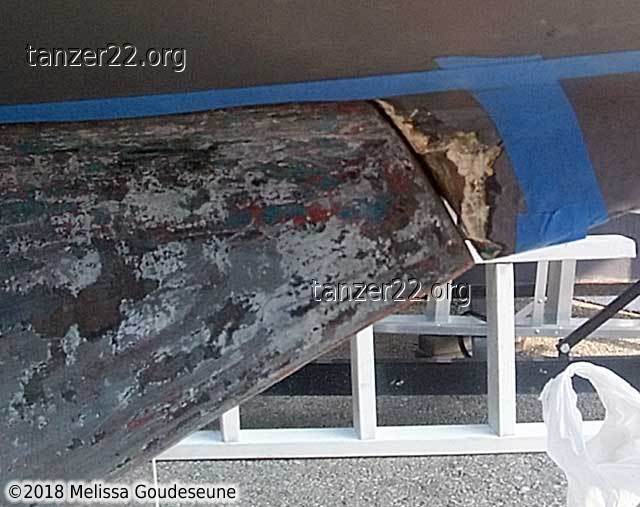
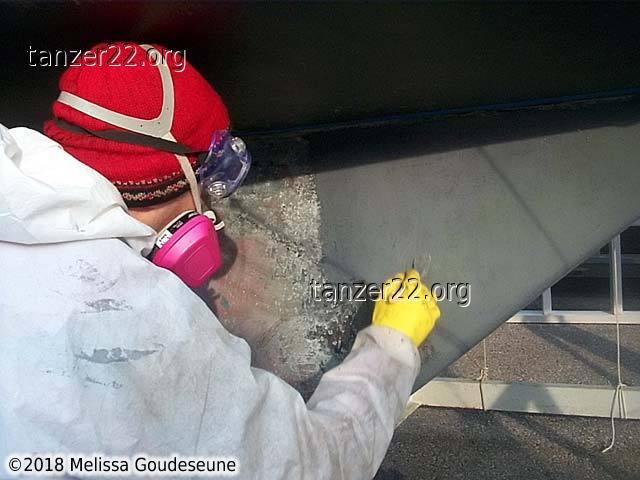
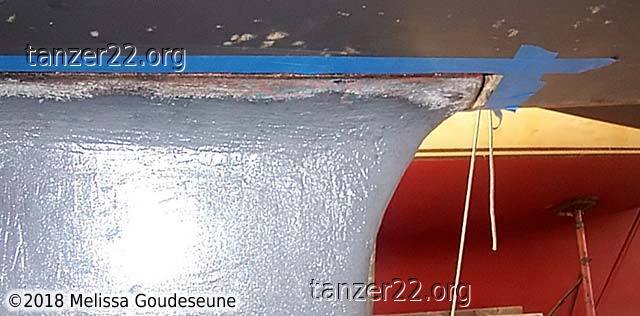
I scraped the old sealant out of the gap at the front of the keel, which
left this void, visible from both sides. After painting with POR-15, I
filled the gap with 4200 sealant.
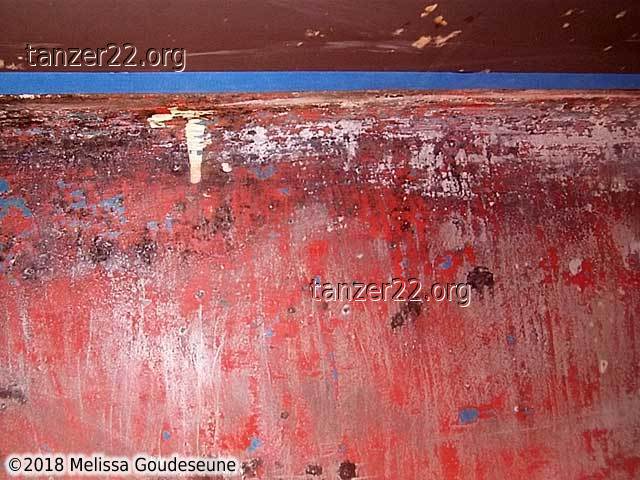
Here you see the keel prepped for painting. Steps completed by this point:
- scrape clean with carbide scraper
- wire brush as necessary (not much)
- clean out keel/hull joint with other scrapers
- wash keel with Marine Clean degreaser
- etch keel with Metal Ready
- rinse
- let dry
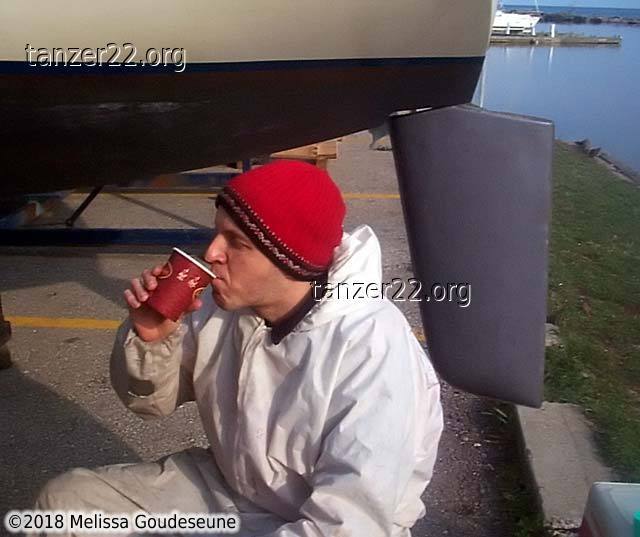
A quick break for that Great Canadian Pastime, drinking Tim Horton's
coffee.
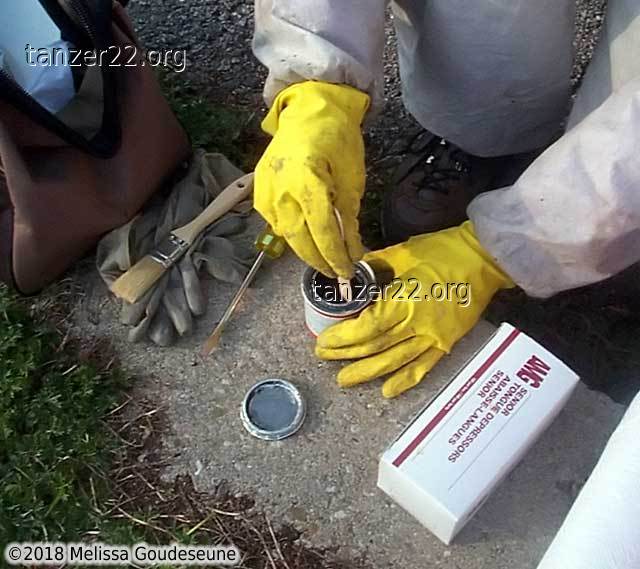
Mixing the POR-15. The instructions say to NEVER paint directly out of the
can. In this case, one 4 oz can was almost exactly the quantity I needed
to paint both sides of the keel, so I didn't worry about it.
Since then, I've taken to using POR-15 in much larger quantities in
my Volvo restoration project, so I'll buy a 1-litre can and split it up
into glass jars used for canning. This makes it possible to remove the
lids (the paint acts as a glue on the metal lids of normal paint cans) and
the paint keeps longer as I'm only working with 125 mL at a time.
Painting the keel. This was all done with a 1" bristle brush. Cosmetic
finish is not an issue for the keel, and this paint goes on so thin that
brush marks are typically not evident.
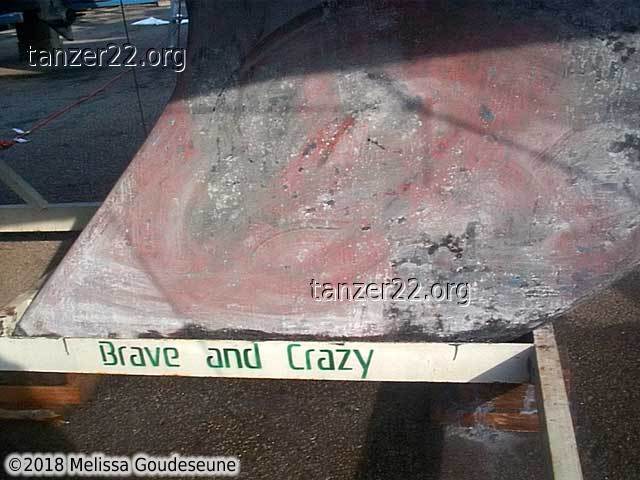
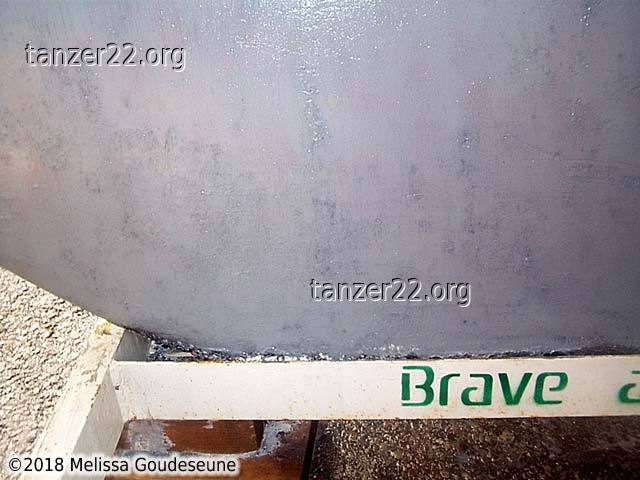
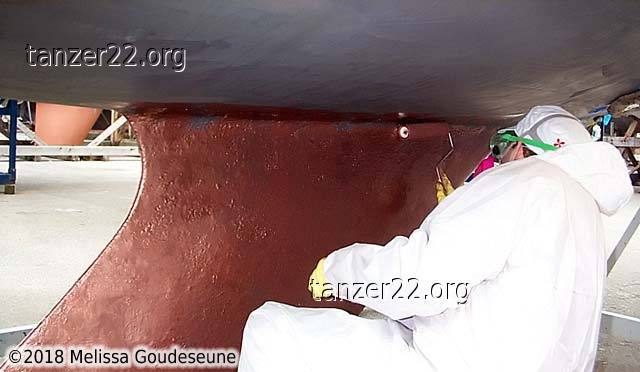
The final result. This is one coat of POR-15, as that's all I had time for
before launch. I believe the yellow tinge in the last photo is from UV.
This only affects the appearance of the paint, not its' integrity.
VC-17
Applying bottom paint is usually No Big Deal, but sometimes all it
takes is a moment of inattention for disaster to strike.
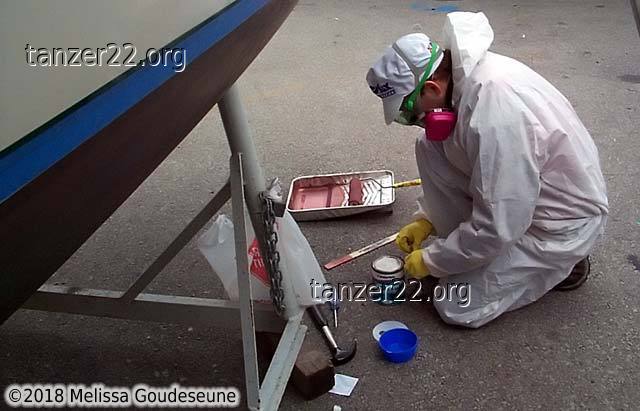
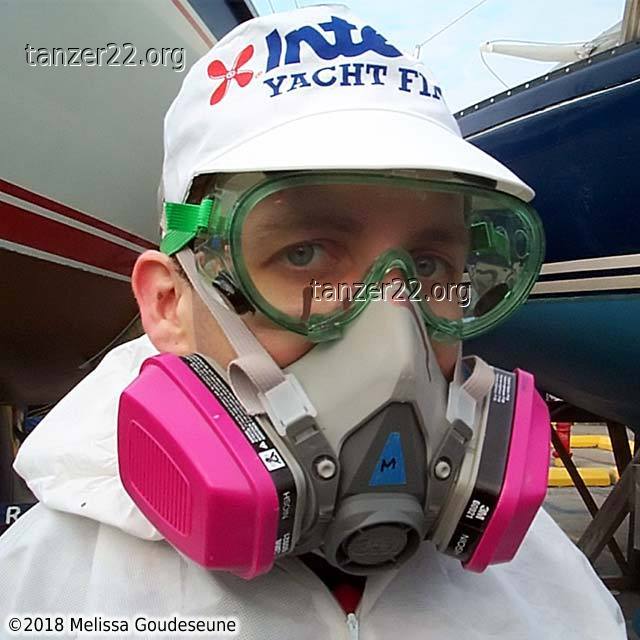
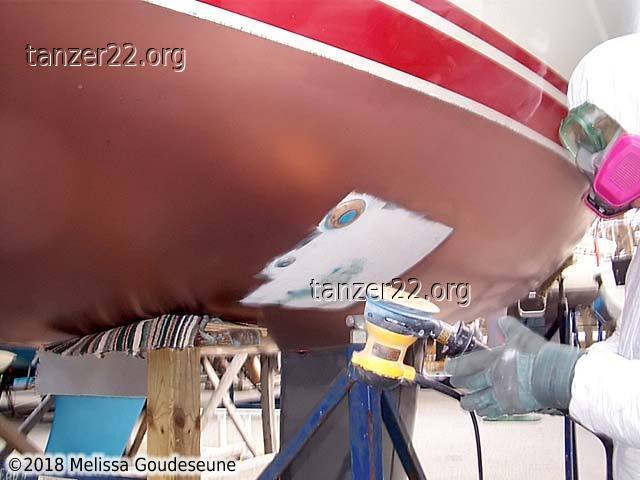
Here I am mixing the copper powder into the main can. Note the safety
equipment:
- full tyvek suit
- rubber gloves
- organic-vapour respirator
- safety glasses
- hat
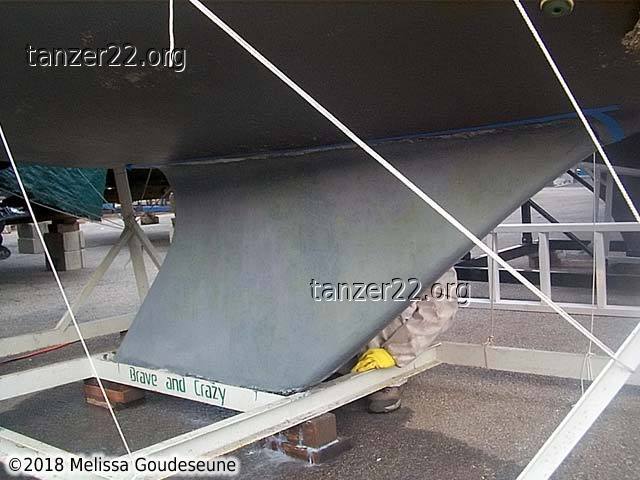
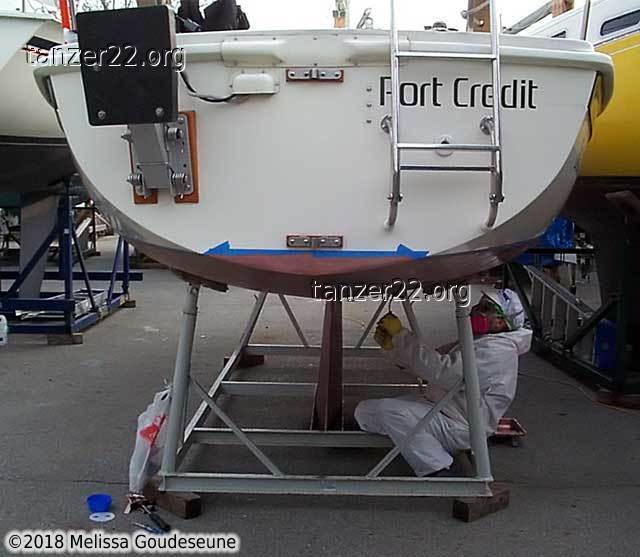
I start with the keel, as it's the farthest part under the boat.
Next, I move on to the bow, working my way aft.
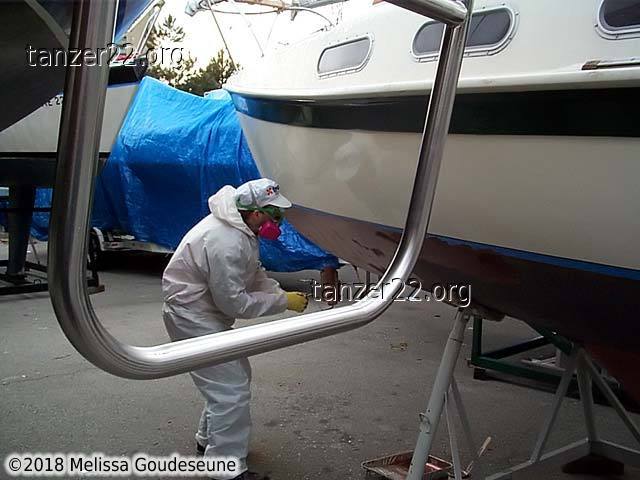
When things go wrong
I was painting the hull, working partially overhead. There was probably a
bit too much paint on my roller, or I was working too quickly with the
roller.
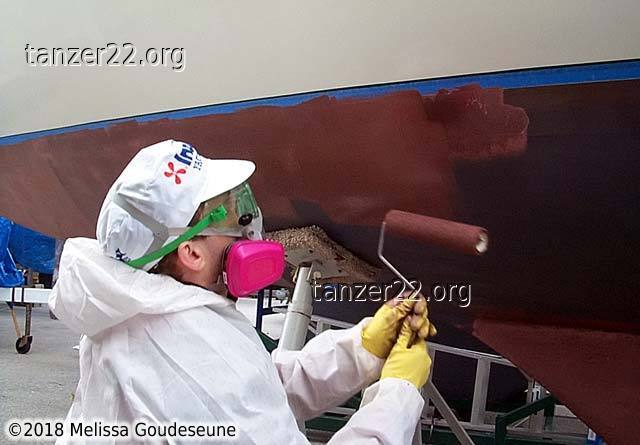
At any rate, a large drop of paint flew off the roller and into my face.
In photo 2, you can see the copper paint on the safety glasses and
the nosepiece of the respirator.
Without this safety gear, I would have been on my way to the hospital. I
don't even want to speculate on what damage this could have caused to my
eye. VC-17 contains some nasty solvents.
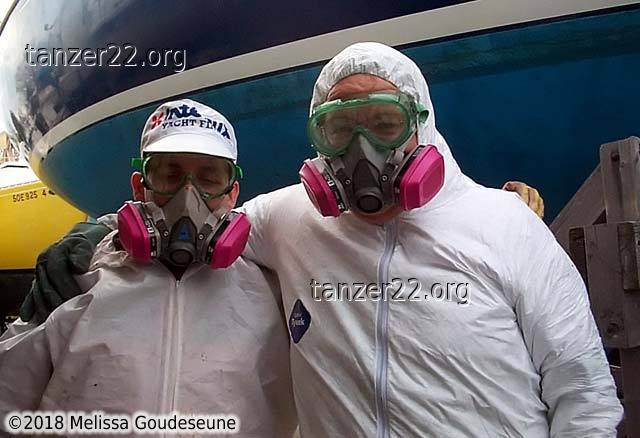
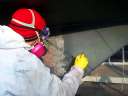
Finally, two photos of the boat next to mine that winter, Tony Bertram's
"Yes, Dear". In photo 1 you see him completing the POR-15 and
VC-17 on his Tanzer 25, under one of the cradle pads. Photo 2
is Tony and I, the "Michelin Men".
© 2018 Melissa Goudeseune