On a sailboat, amp-hours are a jealously guarded commodity. Ok, what's that
in English, for those who don't speak Manager?
In simple terms, your battery will power a given size of lamp (in Watts) using
a given current (in Amps) for a given time (in Hours). If you can maintain
the light output, while decreasing the current, then it's almost as if you're
getting something for nothing.
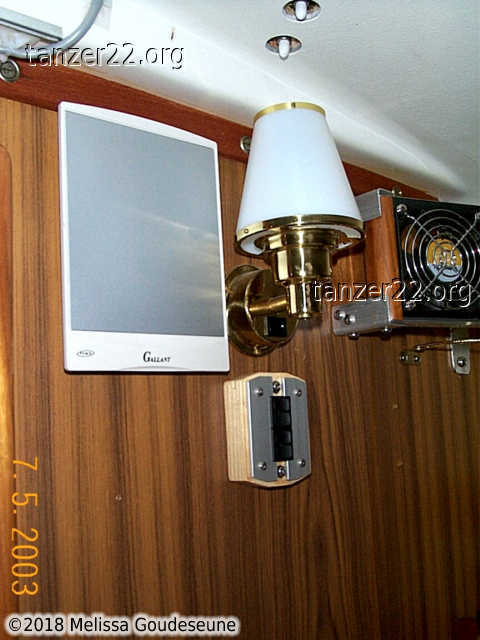
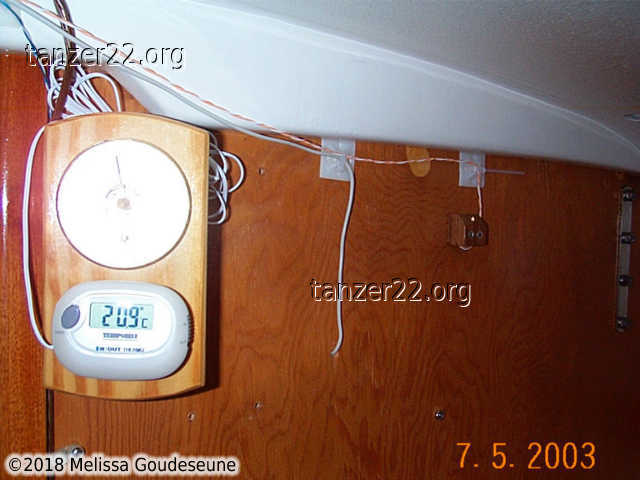
On Brave and Crazy, I just installed 14 LEDs. Six high-intensity white, and
eight high-intensity miniature red. With all the LEDs turned on, they
use 1/20th the current of the halogen lamp in this photo:
Now mind you, they don't produce as much light, but I find it's more than
enough to see what I'm doing.
Construction
This was the really tricky part of the install. On the pop-top T22, there is
a wood surround that extends most of way into the cabin. I took advantage of
this to mount most of the LEDs.
For the cabin proper, I recessed the two white LEDs into the grab handles.
These are installed on the v-berth bulkheads, so that they fall to hand as you
make your way forward. The LEDs shine on the headliner, providing indirect
light.
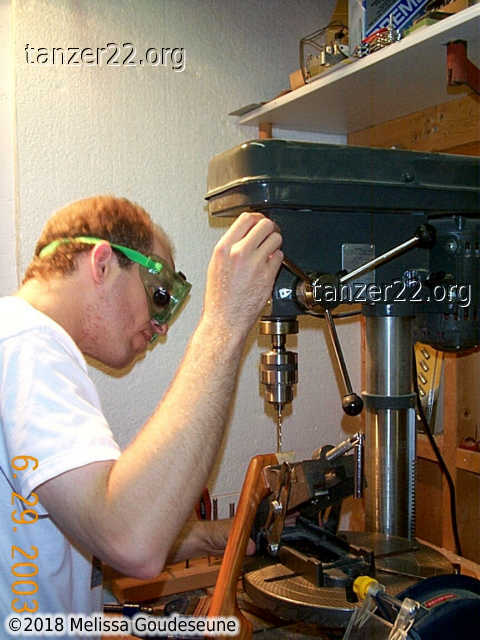
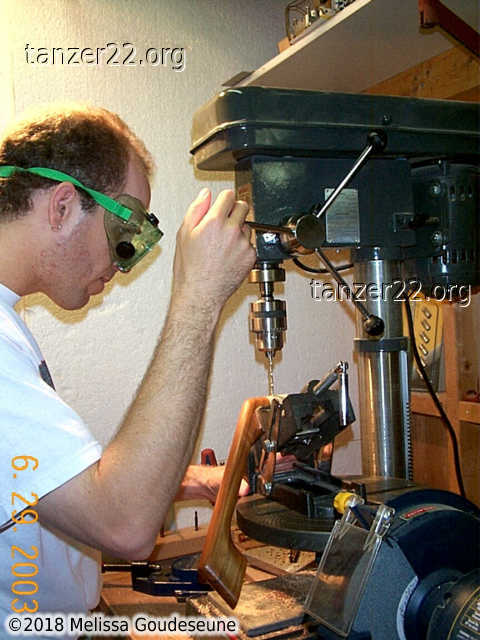
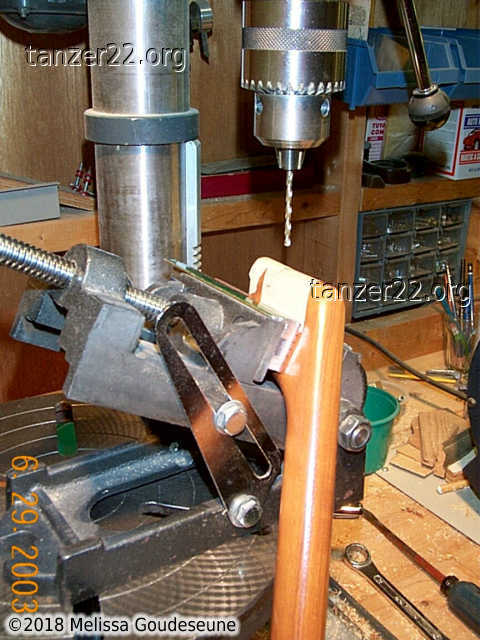
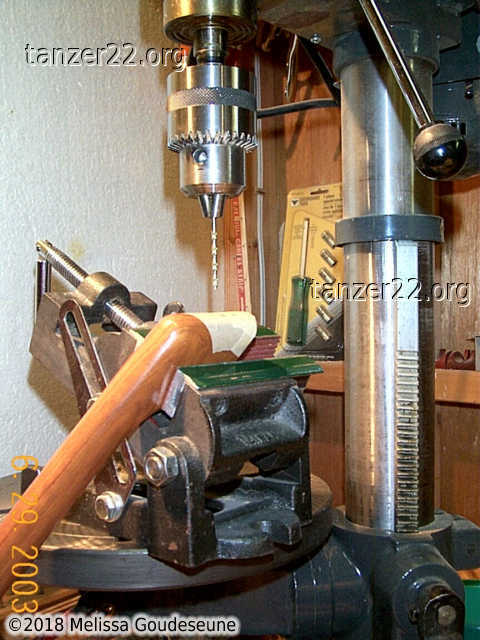
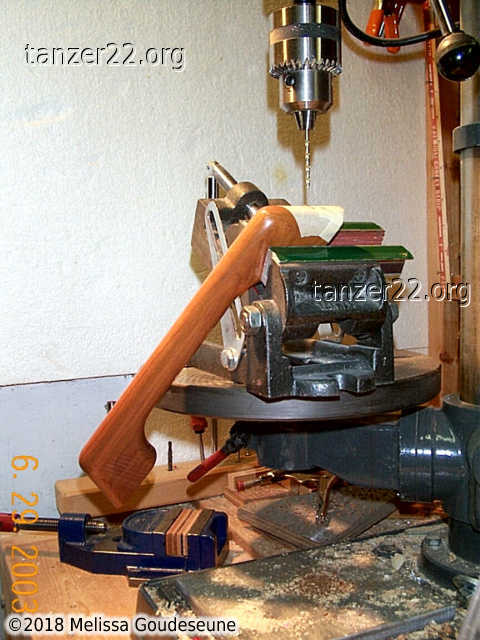
As you can see from the photos, the angles are very particular. I had to
drill from the top and back of the handle, so the holes meet in the middle.
This made it possible to install the LED completely blind, so there's just
a little clear dome poking out. The wire is completely hidden behind the
bulkhead.
Installation
V-Berth
Two red LEDs are embedded into the wooden support rail at the head. I used
a router to make a groove for the wires. The red goop you see on the wires
is "liquid electrical tape", which is much more useful than heatshrink in
this application. There is very little clearance in the channel.
The wires are salvaged from CAT5 networking patch cables. They're 24-gauge
stranded twisted pair, 4 pairs inside an outer sleeve. A quick tip for
using this wire: to remove the outer jacket from the wire, use a seam ripper
(think sewing, not electrical). It will slice through the jacket, without
damaging the wires inside.
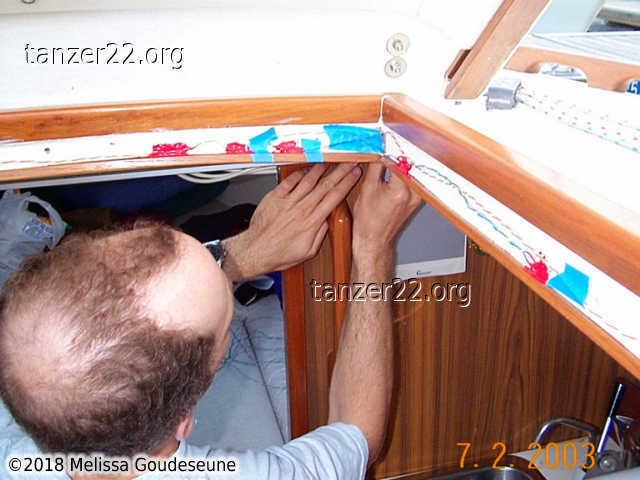
Main Cabin
The first photo shows a red LED, which shines down on the companionway step.
There is another one mirror-image on starboard. The effect is that the
step just glows red at night, with no visible means of illumination.
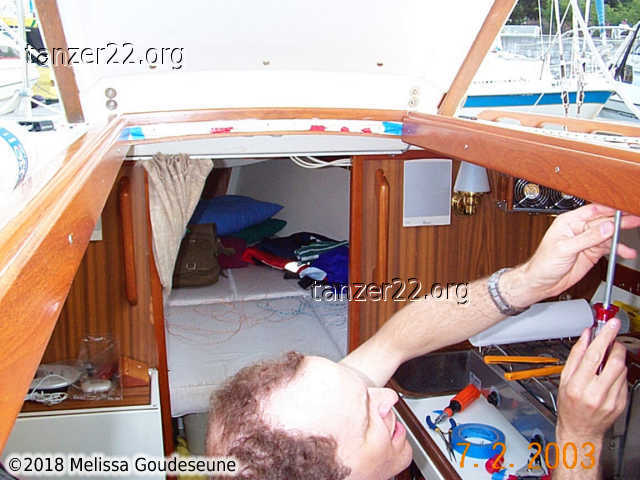
In the second photo, you can see one red LED just above my head. It shines
down onto the forward part of the cabin. On the right (starboard) the two
red blobs are sealing the back of two white LEDs. These are aimed at the
stove and the sink. Once again, this involved drilling at some very careful
angles.
The third photo shows reassembly. Here you can better see the location of
the two forward red LEDs (the centered, large red blobs).
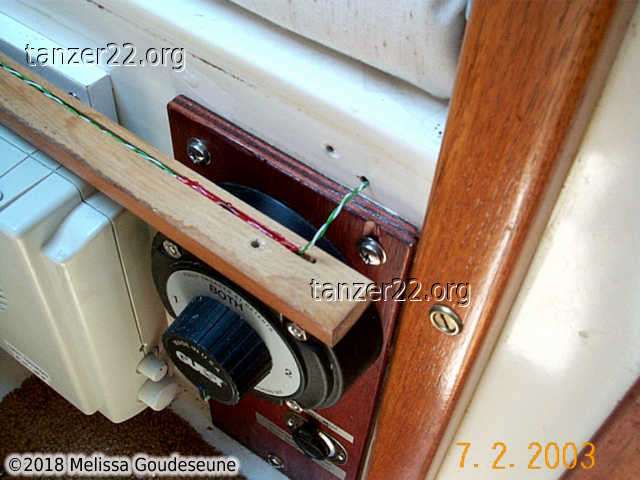
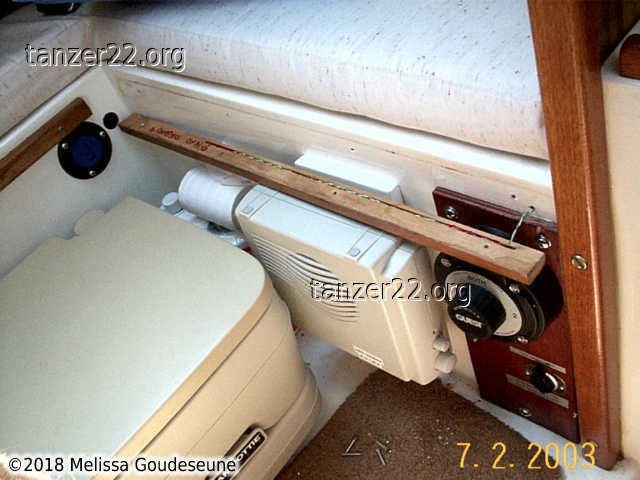
Wiring
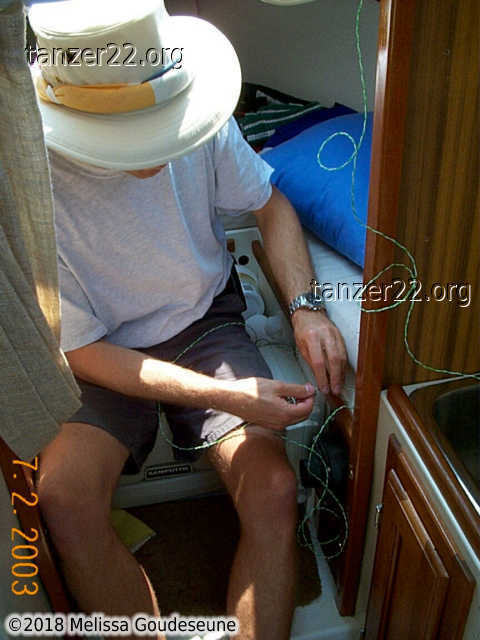
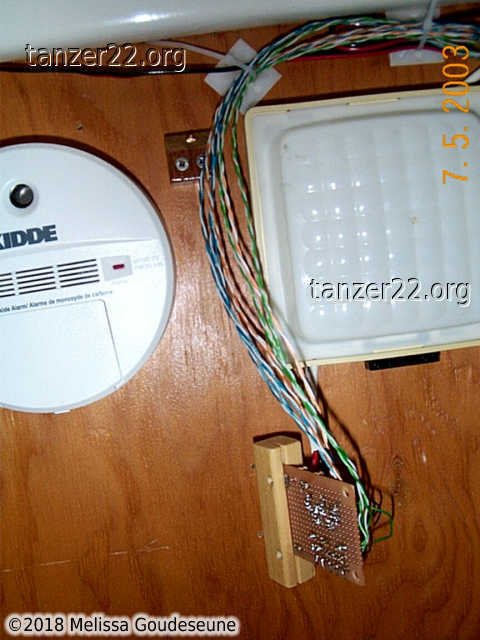
Fishing 24ga stranded wire through conduit is lots of fun... really!
Photo 2 shows the rat's nest in the v-berth, before installing the
control circuit.
Switches, Control Circuit
Because of the electrical requirements of LEDs, it's not possible to just
connect them to the battery with a switch. They would be really bright for
a really short time!
For this reason, it's necessary to have some type of control circuit.
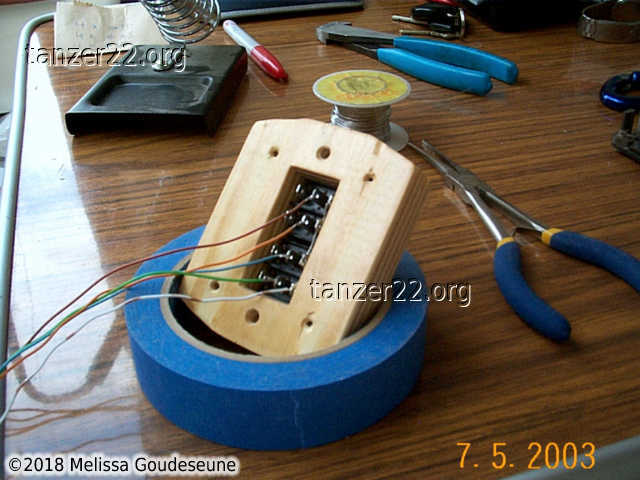
The basic idea of the circuit is
to limit the current with an LM317 regulator. My circuit
is designed to provide 20 mA (milliamps) of current to the LEDs.
You can
view a PDF of my circuit
layout. Some details you'll still need to dig up, though, like the
pinouts for the LM317LZ controllers from
www.digi-key.com.
A good reference about LEDs and the required circuitry
is Jobst Vandrey's site
www.pocketyacht.com,
which I referred to extensively while designing my system. For the keen
of eye, the first photo also shows my Philips Expanium MP3/CD player.
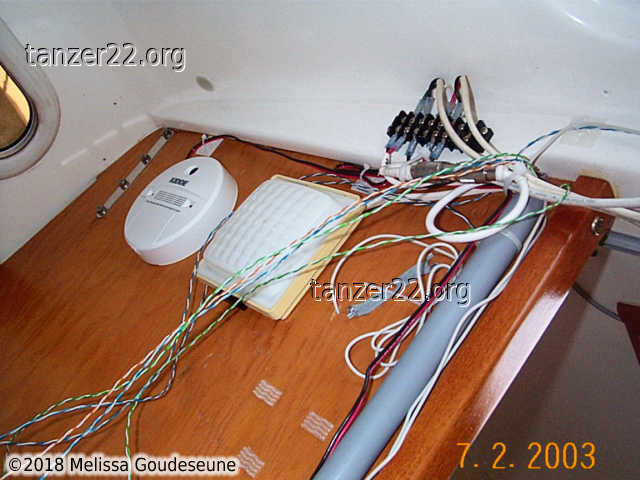
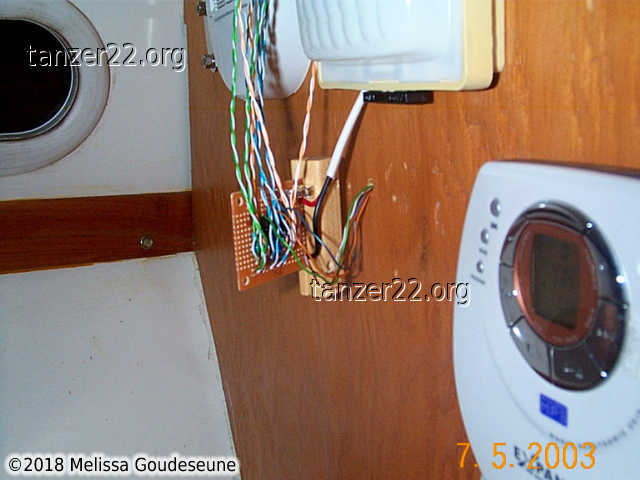
The second photo shows the solder side of the circuit board. You can also
see the starboard v-berth LED. It's mounted in a little block of teak,
between the normal lamp and the CO detector.
The third photo shows the back of the switch panel. As with my main
electricals, the switches were purchased at
Supremetronic
on Queen St. West in Toronto. The switch wires were fished through the
bulkhead, and connect to the circuit board in the v-berth.
Final Result
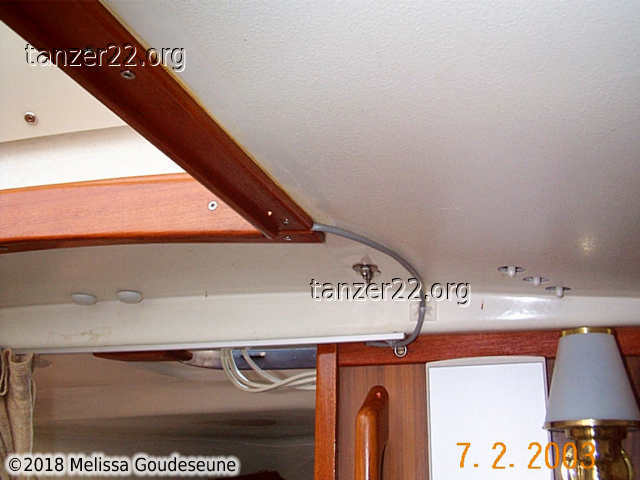
I think the final result is well worth the effort. The first photo
shows the handle-mounted LED (look at the top of the handle). You can
also see the two galley LEDs, which are just to the left of the mounting
screws for the teak. The grey wire is the feed for the LEDs embedded
in the wood surround of the companionway.
The second photo shows the port-side v-berth LED. It shines at a 45-degree
angle against the headliner.
And the third photo, which you've probably already seen. The four switches
(since labeled) to control the v-berth white, cabin white, galley white,
and all-round red LEDs.
LEDs In Use
Since I installed the LEDs in 2003, I've purchased a better digital camera.
This one allows me to do time-lapse photos up to 16 seconds, so I finally
have some photos of the LEDs in use.
Keep in mind that the light levels are not exactly true to real life, but
are fairly representative of the overall effect. When your eyes are
adjusted to the darkness, the LEDs provide enough light to see what you're
doing.
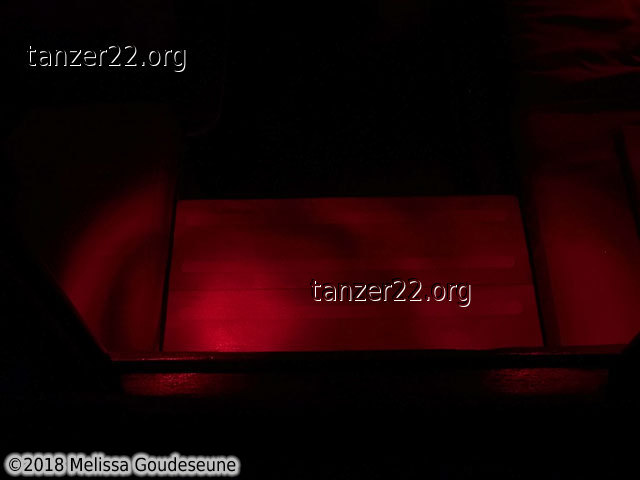
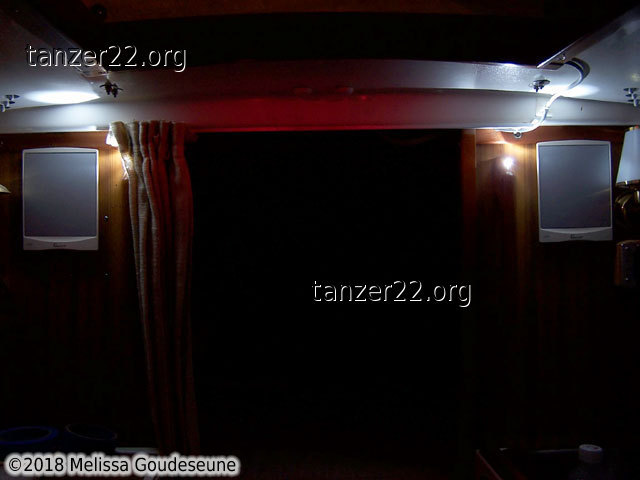
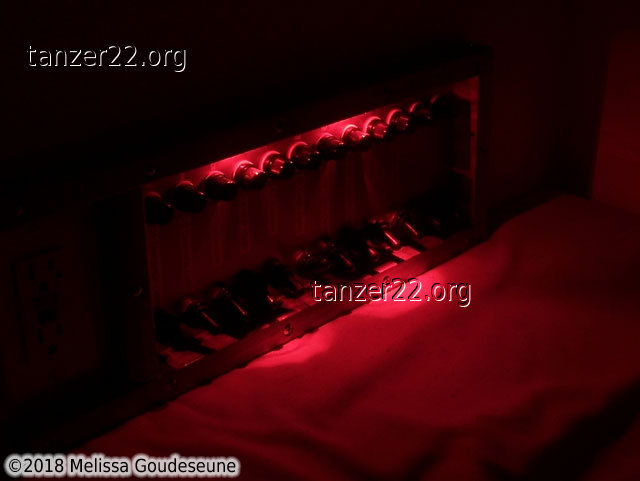
Starting at the companionway, this is looking into the cabin at the
companionway step:
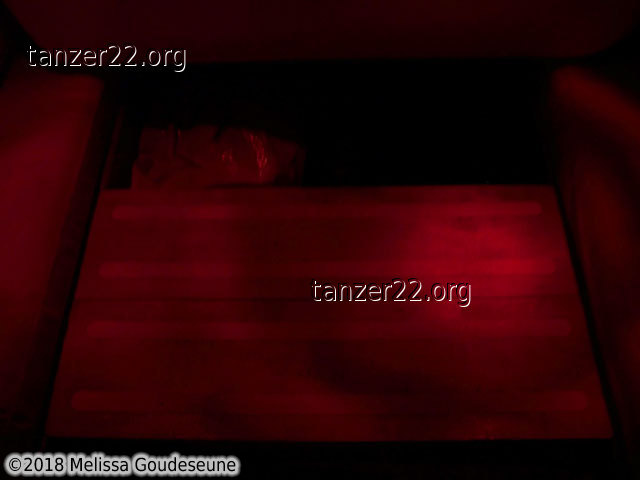
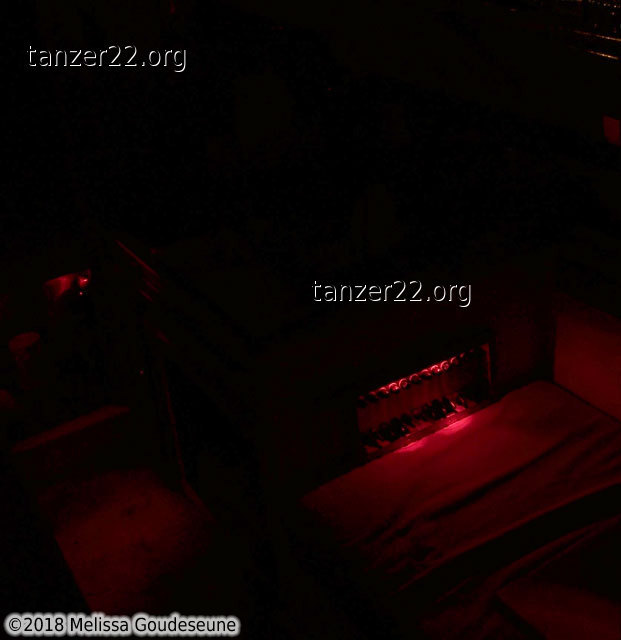
And the opposite view, also looking at the companionway step:
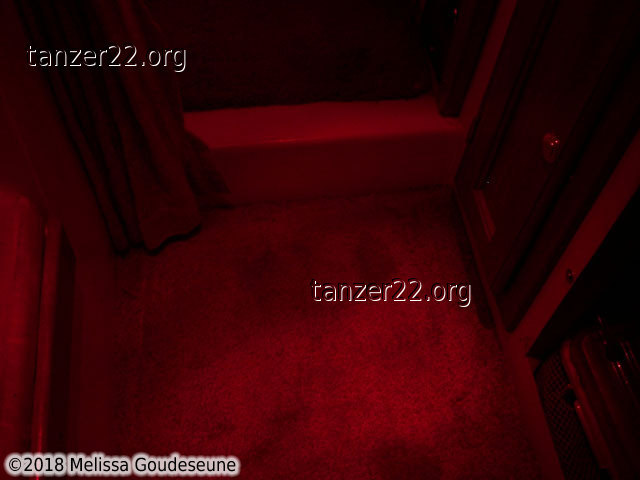
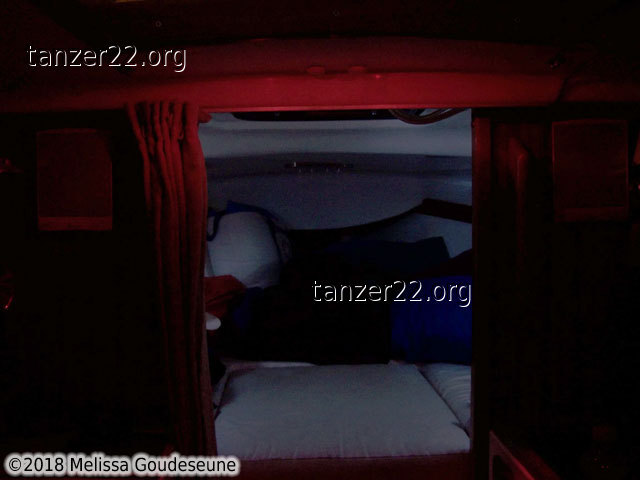
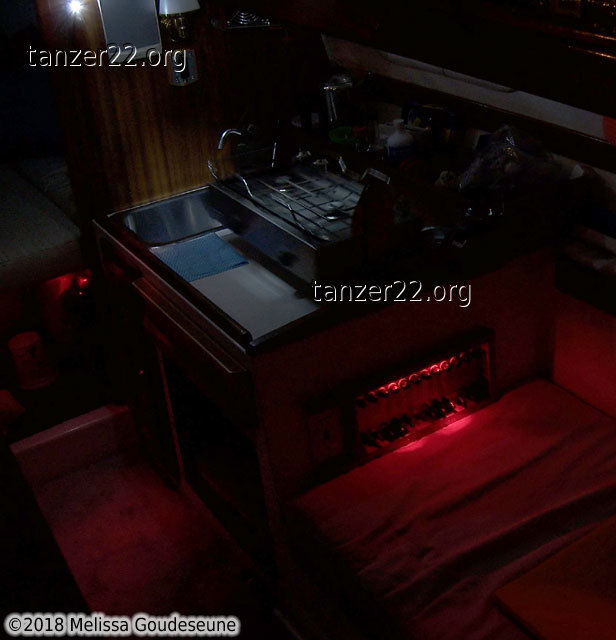
Looking forward, standing in front of the galley. Photo 1 is the cabin
sole, with two red LEDs pointing down. Photo 2 is the two white LEDs
installed in the grab handles. Photo 3 is the v-berth white LEDs.
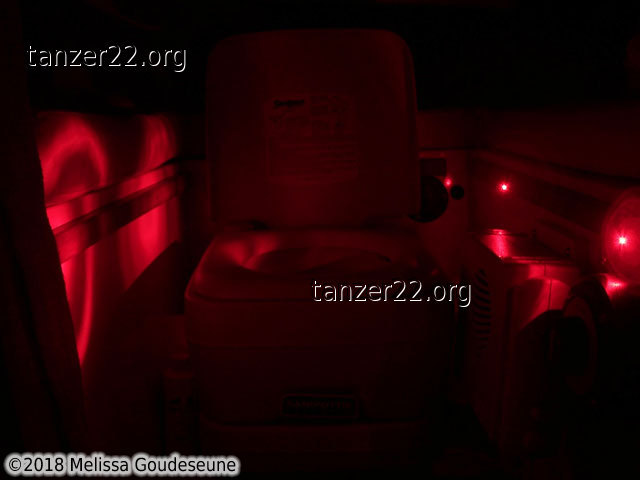
With the cushion removed from the head, two LEDs light up this area:
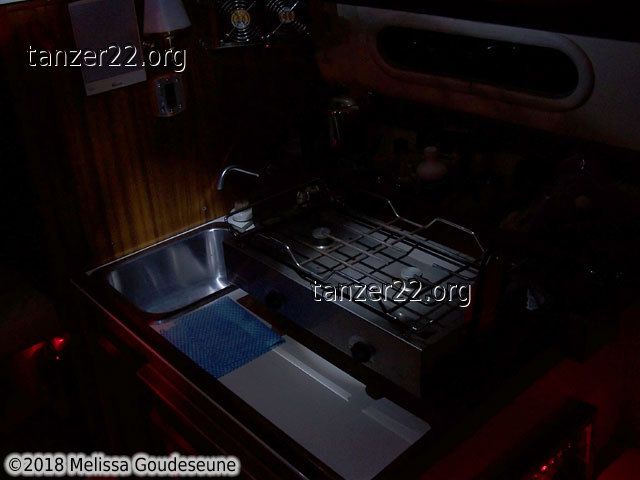
Closeup photos of the galley (two white LEDs, one pointing at the stove, one
at the sink) and the main switch panel (two red LEDs pointing down).
The view from the cockpit, first with just the red LEDs illuminated, then
with the white cabin LEDs as well.
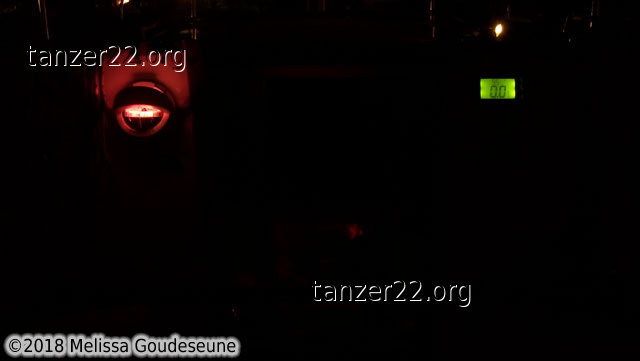
While we're in the cockpit, the compass and knotmeter illuminated. The compass
has a cover that swings down to illuminate the front edge of the dual-read card.
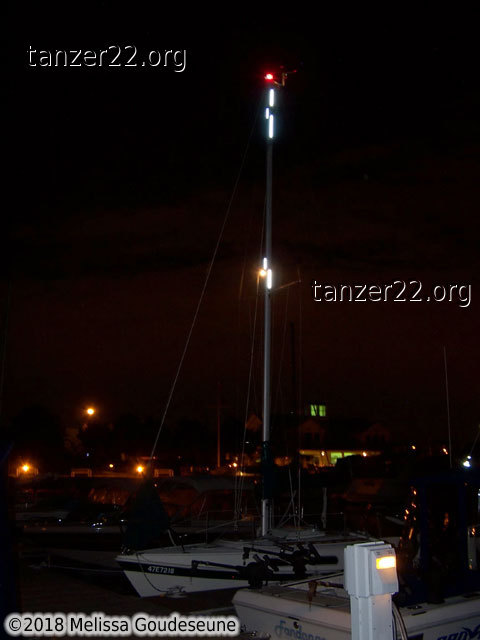
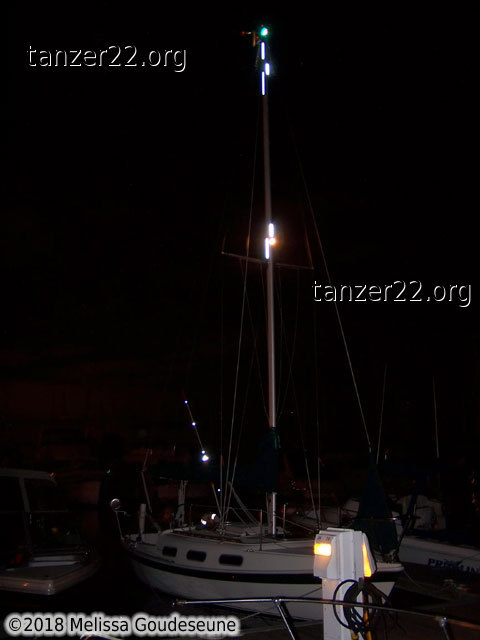
And two photos from the dock, showing the reflective tape installed on the mast,
MOB pole and life ring. The masthead tricolor and steaming light are both
turned on as well, although this particular lighting combination should not
be possible, as it's not legal. The steaming light must only be used with
the on-deck navigation lights. I wasn't aware of that fact when I wired the
boat.
© 2018 Melissa Goudeseune